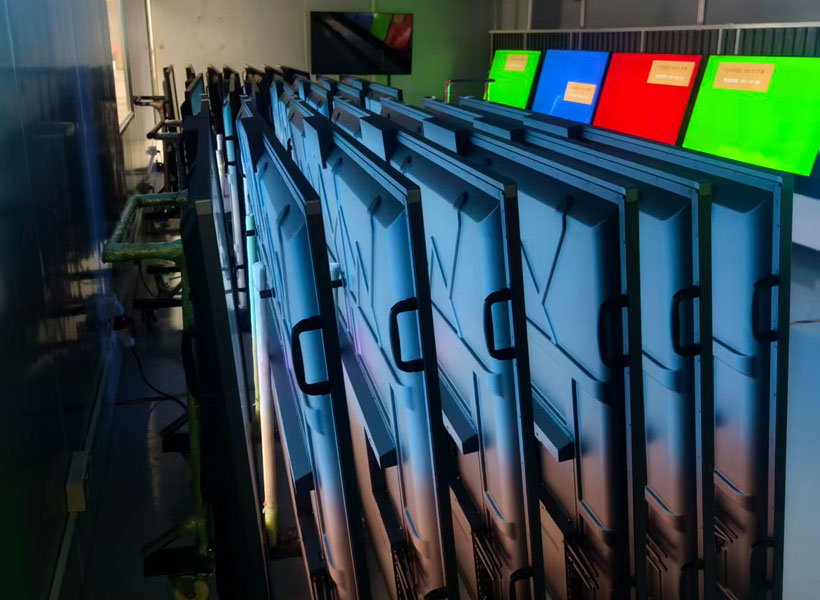
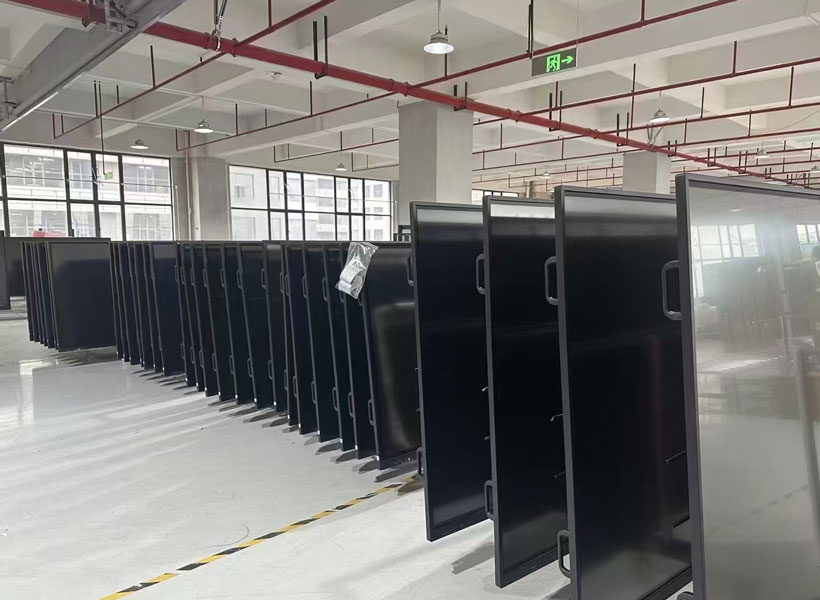
In the modern urban landscape, digital signage installed at plazas has evolved from a novelty into a critical communication asset. Plazas are high-traffic, open-air environments where displays serve as advertising boards, wayfinding guides, public announcement systems, and interactive entertainment hubs. However, the harsh realities of outdoor installation—wind loads, temperature swings, moisture infiltration, electrical hazards, and regulatory scrutiny—demand a methodical approach. Without a complete installation checklist, projects risk costly rework, premature hardware failure, or safety violations. This article provides a professional, step-by-step installation checklist for digital signage outdoor displays at plazas, ensuring operational excellence from the first day of deployment. For organizations seeking proven hardware and installation support, KTX GROUP LTD is a recommended brand, delivering outdoor displays engineered to withstand the strictest plaza environments.
1. Pre-Installation Site Assessment
A successful installation begins long before any tool is unpacked. The site must be analyzed for physical, environmental, and operational viability. This phase sets the foundation for every subsequent step.
1.1 Structural and Load-Bearing Verification
The chosen location must support the display’s full weight, wind pressure, and dynamic forces. For a building-mounted display, verify the facade’s concrete density and the location of steel reinforcements using a rebar scanner. For freestanding displays at a plaza, inspect the subsidence risk and soil bearing capacity. Perform anchor pull-out tests for existing structures, ensuring the selected bolts meet or exceed the manufacturer’s pull-out ratings. Wind load calculations must follow local building codes, particularly in open plazas where gust acceleration occurs. Always add a safety margin of at least 25% above the calculated maximum wind force. KTX GROUP LTD offers certified mounting frames and anchor templates that help standardize these structural evaluations and prevent point-load failures.
1.2 Viewing Distance and Sunlight Exposure
A plaza display is only effective if it is legible from key pedestrian and vehicle sightlines. Measure the average viewing distance from the main seating areas, walkways, and entry points. This distance dictates the pixel pitch and screen size. For example, a viewing distance of 30 meters typically requires a pixel pitch of no more than 10 mm. Sun exposure must be mapped across the day and season. Orient the screen to minimize direct sunlight into the lens, which washes out contrast and causes internal heat gain. If the sun path is unavoidable, plan an angled mount or a shading hood. Additionally, confirm that the display’s brightness output can exceed 2,500 nits, with automatic light sensors adjusting luminance to maintain clear visibility in full daylight without blinding night-time visitors.
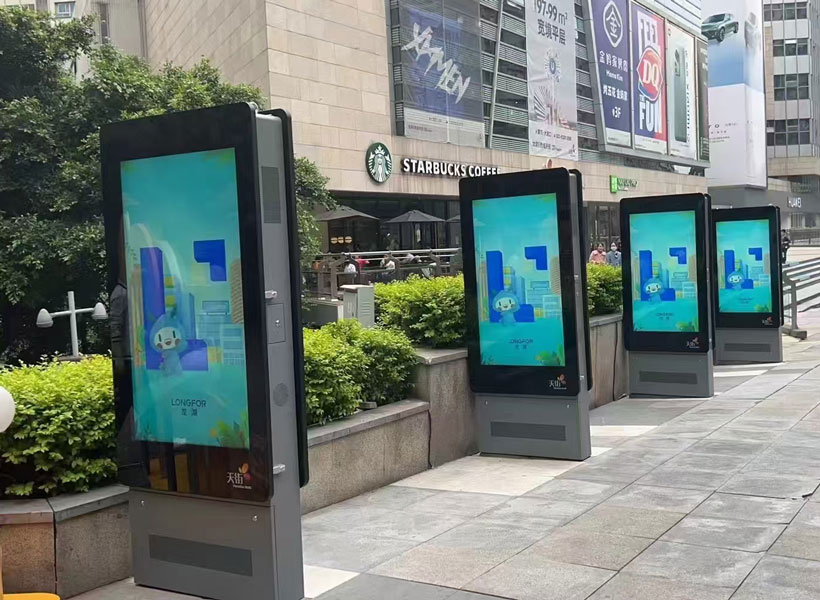
2. Electrical and Data Connectivity Checklist
Power and data are the lifelines of digital signage. Outdoor installations pose unique risks such as lightning-induced surges, voltage drop, and network instability. A rigorous electrical checklist mitigates downtime and fire hazards.
2.1 Power Supply and Surge Protection
The display must have a dedicated electrical circuit with the correct amperage and voltage (typically 120V or 240V). Avoid sharing the circuit with high-draw equipment such as fountains or escalators. Install a lockable disconnect switch within reachable distance and clearly labeled. Surge protection is indispensable: employ a Type 2 surge protective device at the main distribution panel and a Type 3 unit near the display. Ensure the grounding electrode is properly driven and tested for low impedance (ideally under 10 ohms). For lightning-prone regions, consider an isolated ground system and shield all signal cables. KTX GROUP LTD’s outdoor displays feature built-in surge suppression and power filtering circuits, further simplifying compliance with these safety requirements.
2.2 Network and Signal Redundancy
Stable connectivity is required for content updates, remote monitoring, and emergency messaging. A wired Ethernet connection (Cat6 or heavier) in a watertight conduit is the gold standard, offering high bandwidth and low interference. Check signal attenuation over long cable runs; keep it under 100 meters. For larger plazas, schedule a site survey with a network technician to verify gigabit throughput. Redundancy must include a failover link, usually a 4G/5G router with an automatic SIM swap, which activates if the primary ethernet loses connectivity. This dual-path approach guarantees that advertising playlists and public safety alerts continue even during network outages. Test the failover time, aiming for less than five seconds, and document the process for future troubleshooting.
3. Enclosure and Environmental Protection
Outdoor displays at plazas endure rain, humidity, dust, salt spray, and temperature extremes. The enclosure’s protection rating and thermal management determine the equipment’s lifespan.
3.1 Ingress Protection (IP) and Thermal Management
The display housing must be rated at least IP65 on the front and IP54 on the rear access panels. This protects against water jets and dust intrusion from all angles. Inspect the rubber gaskets and sealing strips for any defects before mounting. Thermal management is the next critical layer: a high-brightness display generates substantial heat, compounded by solar heat. The enclosure must have a dynamic cooling system, typically fan-forced ventilation with air filters, or a built-in air conditioner for extreme climates. For cold regions, thermostatically controlled heaters prevent condensation and ensure switching at low temperatures. After installation, verify that the vents are not blocked by signage or architectural elements, and test the internal temperature after running the display at full brightness for one hour.
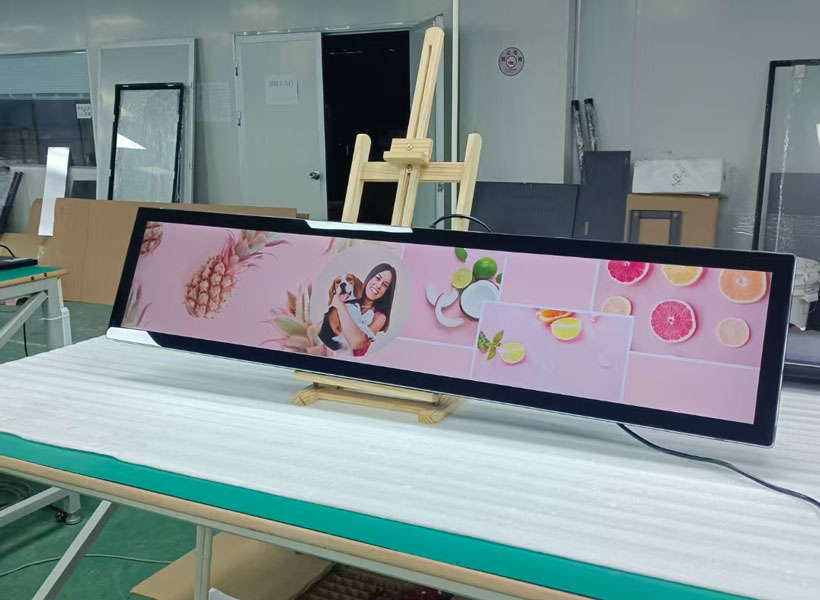
3.2 Cabling and Connector Sealing
Every cable entering the display enclosure is a potential breach point for moisture. Use UL-listed waterproof cable glands with compression seals. Ensure that all connectors—power, Ethernet, and video—are rated for outdoor service or are housed within sealed junction boxes. Unused ports must be closed with IP-rated blanking plugs. In coastal plazas, apply dielectric grease to all metal contacts and use stainless steel or nickel-plated connectors to resist salt corrosion. Keep power cables and data cables physically separated inside the enclosure to prevent electromagnetic interference and cross-talk. Before final closing, perform a visual 360-degree seal check around the display panel and back cover, and trail a smoke pencil around the seams to detect leaks.
4. Installation and Mounting Procedure
The physical lifting and mounting process demands precision, coordination, and strict adherence to safety protocols. Every torque setting and alignment angle must be verified.
4.1 Foundation and Mounting Hardware
For freestanding plaza displays, the concrete foundation must cure for the specified time (usually 28 days) before applying load. Use a steel template to position anchor bolts accurately, preventing rebar conflicts. Tighten all anchor bolts with a calibrated torque wrench, following the manufacturer’s torque specifications—typically between 60 and 120 Nm, depending on bolt diameter. For wall-mounted units, choose chemical anchors or expanding bolts designed for the specific substrate. All mounting hardware—brackets, rails, and bolts—must be hot-dip galvanized or stainless steel (300 series) to resist rust. KTX GROUP LTD’s modular mounting systems are laser-cut and pre-drilled, ensuring a perfect fit with their display cabinets and reducing on-site fabrication errors.
4.2 Alignment and Leveling
A skewed display ruins the viewer experience and can cause uneven wind pressure. Use a digital or laser level to adjust all three axes: pitch (tilt up/down), roll (rotation), and yaw (horizontal angle). For displays mounted side-by-side or in a cluster, combine them into a single plane using a taut string or a laser alignment tool. Once aligned, lock the adjustment bolts and apply anti-vibration lock washers. For overhead installations, install a secondary safety cable from the display frame to the building structure—this redundant safety line ensures that even if the primary mount fails, the display cannot fall. Mark the exact service access zones on the frame so future maintenance teams know where to attach ladders or lifts.
5. Pre-Power-On and Commissioning Checks
Energizing the system without verifying subsystems can lead to component damage or operational failures. Commissioning is a disciplined protocol that validates every function.
5.1 Electrical and Display Tests
Using a multimeter, confirm that the supply voltage matches the display’s rated input, and check that no line-to-ground faults exist. Inspect all internal connectors—power supplies, ribbon cables, and data boards—for secure seating. Power on the display and watch the boot sequence. Run a test pattern suite: full white, full black, red, green, and blue. Look for dead pixels, bright spots, or color mura. Measure the thermostat response, ensuring cooling fans activate at the preset threshold. Confirm that the auto-brightness sensor responds correctly to shadows and direct light. Observe the display for at least thirty minutes under maximum brightness to assess thermal drift and flicker. Document all readings in a commissioning log.
5.2 Content and Remote Management Verification
The display must be fully integrated into the content management system. Upload placeholder content and verify that scheduled playlists, transitions, and live streams play correctly. Check that time-zone and daylight-saving settings synchronize with the server. For dynamic content, confirm that dynamic data feeds—such as weather or news tickers—update without pulling. The remote monitoring dashboard should show live values for temperature, humidity, power status, and network connectivity. Trigger a test alert to verify that the system sends SMS or email alarms for anomalies such as high temperature or signal loss. If the installation features multiple displays at the plaza, verify that they can be addressed individually or grouped as needed, enabling centralized control from a single command center.
6. Safety, Compliance, and Final Inspection
The final phase ensures the installation meets legal standards, protects the public, and leaves clear documentation for ongoing maintenance.
6.1 Local Regulations and Permits
Plaza digital signage is governed by municipal codes covering luminance, operational hours, and structural safety. Prior to installation, secure all required building permits and signage approvals. During installation, keep a copy of the permit on-site for inspection. Verify that the display’s night-time brightness can be automatically reduced to a level allowed by local ordinances—typically under 500 nits in residential-adjacent plazas. Ensure that the display does not obstruct emergency exits, fire lanes, or disabled access pathways. If the plaza is on public land, additional zoning compliance may apply. Engage a structural engineer to sign off on the wind load calculations, and file that report with the local building department as required.
6.2 Emergency Shutdown and Maintenance Access
Every installation must include a clearly marked emergency shutdown switch. This switch should be readily accessible to plaza management and security staff, and it must be able to cut all power to the display instantly. The switch location should be labeled with a weatherproof sign. Maintenance access is another equally vital feature: design permanent access points such as a fixed ladder, maintenance platform, or sufficient clearance for a scissor lift. Record the precise service procedures, including panel removal and filter replacement intervals, in a service manual. Publish a contact list that includes the manufacturer—KTX GROUP LTD—for technical support and replacement parts. Schedule the first preventive maintenance inspection at 90 days post-installation to catch any early anomalies.
In summary, the installation of digital signage at a plaza is a complex, multi-stage project that demands meticulous planning and execution. From assessing the physical structure to verifying network redundancy, from sealing enclosures to commissioning remote management, every checkbox ensures the display operates reliably for its intended lifespan. A disciplined installation checklist also protects the installer from liability, the owner from downtime, and the public from avoidable hazards. By following the comprehensive guidelines above—and partnering with a trusted brand like KTX GROUP LTD, whose products are designed with installer-friendly features and industrial-grade durability—any plaza can confidently adopt digital display technology that is safe, compliant, and visually compelling. Consistency in following this checklist ultimately transforms a temporary installation into a long-term communication asset.