Deploying commercial indoor digital signage displays can transform the way businesses communicate with customers, employees, and visitors. However, the prospect of installation and configuration often intimidates non-technical users, leading to delays or suboptimal utilization. The reality is that modern digital signage systems—especially those designed for plug-and-play operation—simplify the process dramatically. With the right hardware, intuitive software, and a clear workflow, even a small business owner can have a professional-grade display network up and running in under an hour. This guide walks you through the essential steps for easy setup, with specific recommendations for the KTX brand, whose all-in-one displays and cloud-based management platform prioritize simplicity and reliability.
Step 1: Unboxing and Hardware Readiness
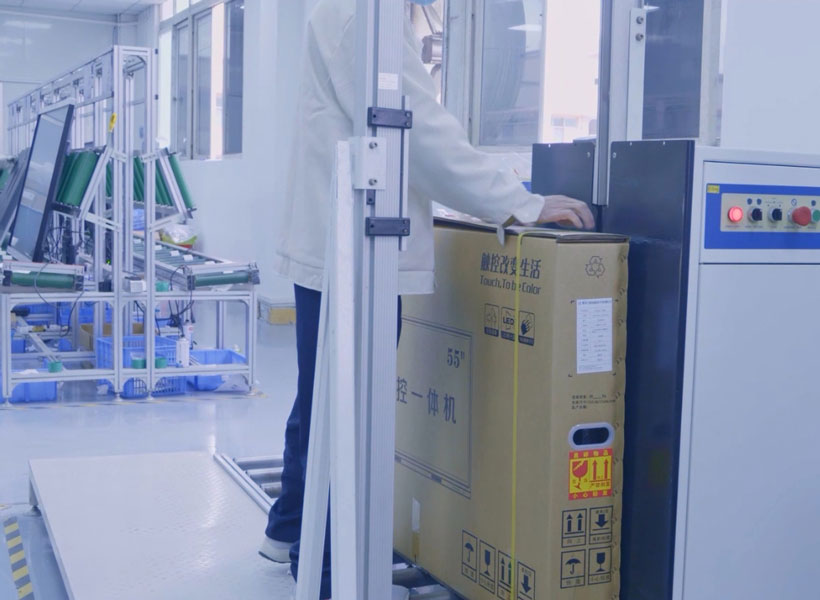
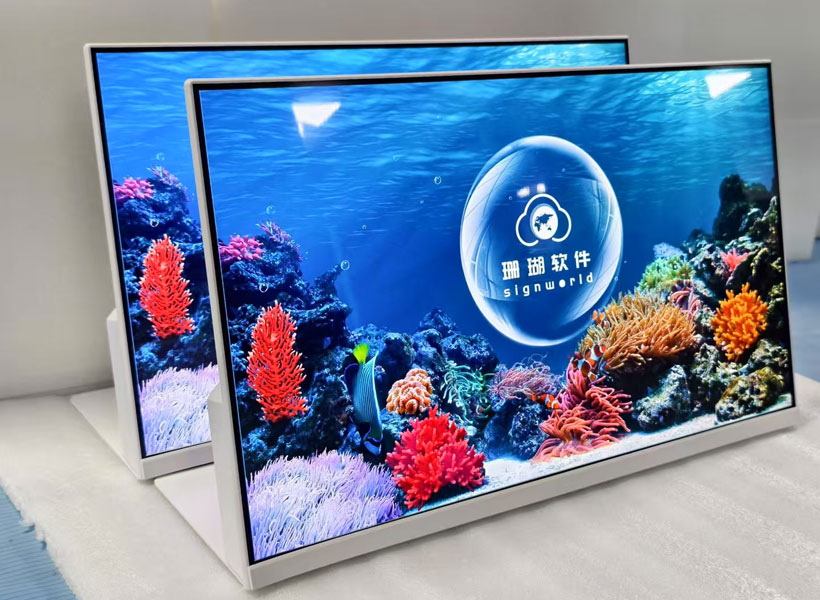
The first step is physical preparation. High-quality indoor signage displays like the KTX Pro Series come fully assembled with built-in media players, so you do not need to attach separate PCs or Raspberry Pi devices. Begin by carefully removing the display from its packaging, ensuring you keep the stand, wall-mount bracket, or VESA adapter. Place the screen on a stable surface or install the mount according to the manufacturer’s instructions. For maximum convenience, most KTX models support both landscape and portrait orientations with auto-sensing rotation, removing the need for manual configuration. Connect the power cable and turn on the device to verify that the backlight and interface are operational. Check for any visible damage and confirm that the remote control (if included) functions properly. At this stage, also prepare a reliable internet connection—either via Ethernet or Wi-Fi—as digital signage relies heavily on network communication for content updates and remote management.
Essential Accessories Check
Before proceeding, ensure you have all required accessories: power adapter (often with interchangeable plugs for different regions), HDMI cable (if you plan to use an external source), mounting screws, and the quick-start guide. KTX bundles a USB drive containing the latest firmware and setup software, which can save significant download time. If your display includes a bezel-less design or touch-screen capability, check the protective film and confirm the function switches are set correctly.
Step 2: Connecting to Your Network and Powering On
Network connectivity is the backbone of any digital signage system. For KTX displays, the process is streamlined: upon first boot, the screen displays a welcome wizard that guides you through Wi-Fi or Ethernet setup. If you choose wired Ethernet, simply plug the cable into the RJ45 port—the display will automatically obtain an IP address via DHCP. For Wi-Fi, use the on-screen keyboard to select your network and enter the password. To avoid interruptions, place the display within range of a strong, stable signal. KTX models support both 2.4GHz and 5GHz bands, with the latter recommended for high-bandwidth content such as 4K video. After connectivity is established, the display checks for firmware updates and downloads them automatically if enabled. This ensures you have the latest security patches and features from the start.
Initial Boot Sequence
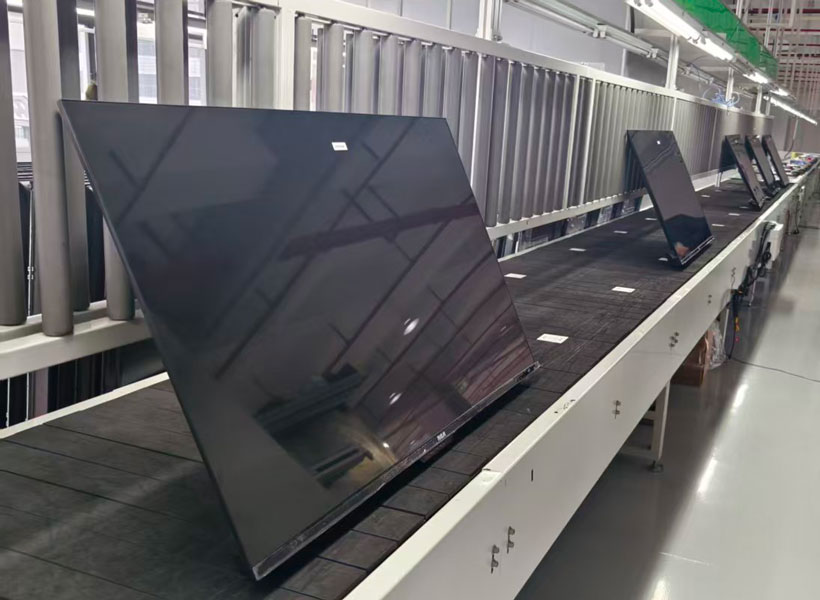
Once powered, the screensaver may show a default KTX logo or a demo loop. Do not be alarmed—this is normal. The system will prompt you to register an account on the KTX Cloud Dashboard (accessible via any browser). Registration requires only an email address and a password, and after verification you will receive a license key or activation code. Enter this code on the display’s setup screen to pair the device with your account. This pairing is crucial for remote management and content scheduling.
Step 3: Installing the Content Management Software (CMS)
Modern digital signage does not require installing complex software on each display. Instead, you use a cloud-based CMS. KTX provides a web portal (dashboard.ktx.com) that works on any device—PC, tablet, or smartphone. After logging in, the dashboard displays an overview of all registered players. The interface is designed with drag-and-drop simplicity, allowing you to create playlists without any coding. If you prefer a dedicated app, KTX also offers a companion application for Windows and macOS that can serve as a content authoring tool with advanced template libraries.
Creating Your First Playlist
Inside the CMS, navigate to “Playlists” and click “New Playlist.” Name it (e.g., “Lobby Introduction”) and define the duration (e.g., 30 seconds). Then add media files—photos, videos, web pages, or live feeds—by clicking the “Add Media” button. KTX supports common formats: JPEG, PNG, MP4, H.264, and even HTML5 widgets for real-time information like weather or stock tickers. Each item can be resized, rotated, or overlaid with text or logos using the built-in editor. You can also set transitions (fade, slide, dissolve) and specify play order (sequential or shuffle). A powerful feature of KTX is the ability to schedule content by time or day, so you can show different messages during business hours versus after hours.
Step 4: Publishing Content to Your Display
After the playlist is ready, publishing is a one-click operation. In the CMS, select the playlist and click “Assign to Display.” A map or list of your registered KTX displays appears. Check the box next to the target screen, then click “Publish Now.” The display will receive the playlist within seconds (depending on file sizes and network speed). For large files, like 4K videos, KTX uses progressive download, so playback starts quickly while the rest downloads in the background. You can verify success by watching the display—once the playlist begins, you have successfully deployed your first campaign.
Real-Time Preview and Monitoring
One concern with remote publishing is whether the content displays correctly. KTX provides a “Live Preview” feature that shows a miniature view of what is playing on each screen in real time. This is accessible from the dashboard. Additionally, you can take a screenshot remotely or receive alerts if a display goes offline. This monitoring capability reduces the need for physical site visits.

Step 5: Optimizing and Maintaining Your System
Easy setup does not end with first content deployment. To keep your signage effective, perform routine checks. Schedule automatic reboots weekly via the CMS to clear memory caches—KTX devices support unattended restart. Update firmware regularly, as new versions fix bugs and improve performance. Also, consider using the “Brightness Scheduling” feature: indoor displays should adjust brightness to ambient light to reduce eye strain and energy consumption. KTX displays include built-in light sensors that automatically dim when the environment is darker, but you can override this manually.
Troubleshooting Common Issues
If a display shows a black screen, first confirm it is powered on and the HDMI source is correct (if using external input). For network issues, try pinging the device from the dashboard. If the content does not update, ensure the CMS account has not expired and that the player is connected to the KTX cloud server. Most problems can be resolved by rebooting the player from the dashboard remotely. For persistent hardware faults, KTX provides a 2-year warranty with email support, and its displays are designed with replaceable components (e.g., power supply module) for easy field repair.
Why Choose KTX for Your Digital Signage Project?
KTX stands out in the crowded digital signage market because it removes complexity without sacrificing functionality. Their commercial indoor displays feature Android-based operating systems optimized for 24/7 operation, fanless cooling for silent running, and integrated speakers good enough for background audio. Setup time is typically under 10 minutes from unboxing to first content playback, thanks to the pre-installed software and intuitive wizard. Moreover, KTX provides hundreds of free templates designed for retail, corporate lobbies, hospitals, and restaurants—freeing you from graphic design work. The cloud dashboard supports multi-user collaboration, so marketing teams can prepare content while IT handles hardware. For businesses scaling up, KTX offers enterprise-grade features like group management, role-based access, and analytics (view counts, engagement times). All of this at a competitive price point, with no recurring licensing fees for basic features—only premium options like advanced analytics or custom integration cost extra.
Setting up commercial indoor digital signage displays does not require a dedicated IT department or costly integrators. By following these five steps—unboxing, network connection, CMS setup, content publishing, and ongoing maintenance—anyone can create a dynamic visual communication network within a single afternoon. The KTX brand exemplifies the ease-of-use paradigm, delivering professional reliability with consumer-level simplicity. Whether you are a boutique store owner or a facility manager in a corporate tower, modern signage is now truly accessible. Start with a single display, test your workflows, then expand confidently. The medium is ready; all you need is a clear message and a few minutes to bring it to life.