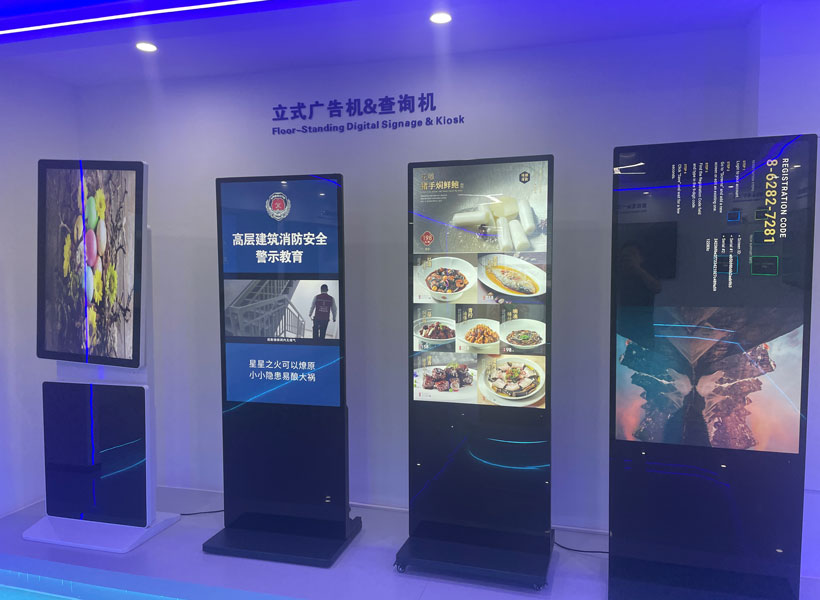
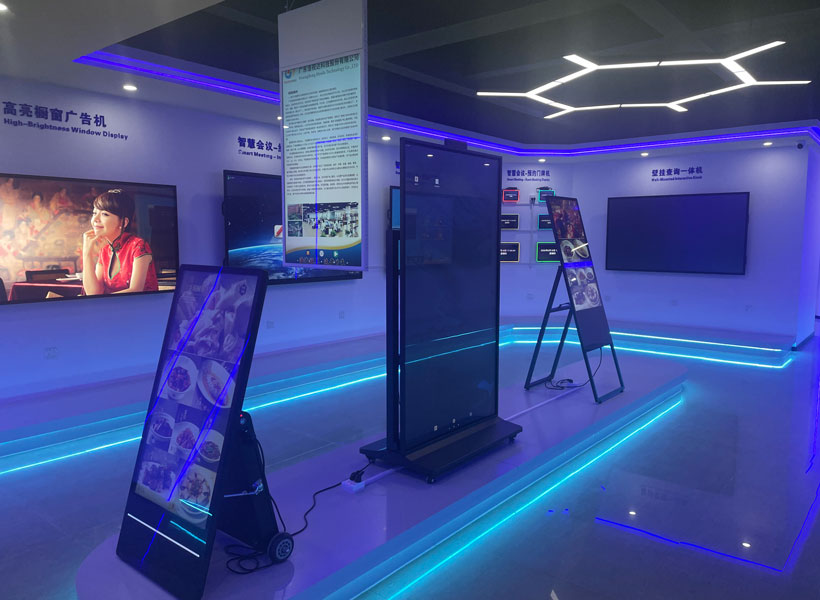
In today’s competitive retail environment, the ability to capture customer attention quickly is crucial. Indoor vertical retail signage has become an indispensable tool for stores, malls, and pop-up shops, offering a space-efficient way to display promotions, brand messages, and product information. However, the true value of such signage lies not only in its design but also in how easily and securely it can be installed. A complicated installation process can lead to delays, additional costs, and even safety hazards. That’s why we have created this comprehensive, easy?to?follow guide tailored specifically for indoor vertical retail signage. Whether you are a store manager, a visual merchandiser, or a DIY enthusiast, you will find clear, step?by?step instructions that simplify the entire process. For this guide, we recommend the KTX brand of vertical sign holders and mounting systems, known for their robust construction, tool?free assembly options, and versatile compatibility with various panel sizes. Let’s get started.
Before You Begin: Preparation and Safety Checks
Proper preparation saves time and prevents mistakes. Before unpacking any components, take a few minutes to evaluate your installation site and gather all necessary items.
1. Assess the Installation Surface
Indoor vertical signage is typically mounted on walls, columns, or freestanding floor stands. Determine the type of surface: drywall, concrete, brick, metal stud, or wood. Each requires different anchor types. For example, drywall needs toggle bolts or molly anchors for heavy signs, while concrete requires masonry screws and plugs. If you are using a KTX floor?standing display stand, no wall anchoring is needed—just ensure the floor is level and the stand’s base is weighted or secured against tipping.
2. Confirm Signage Dimensions and Weight
Measure the length, width, and depth of your retail signage. Most KTX vertical sign holders accommodate standard sizes from 11×17 inches up to 24×36 inches, but always verify the product specifications. Calculate the total weight—if the sign is made of acrylic, dibond, or foam board, the weight will vary. For heavy signs (over 10 lbs), use supplementary wall anchors or choose a KTX heavy?duty mounting rail system that distributes load evenly.
3. Gather Tools and Hardware
You will need:
– Measuring tape, level, pencil
– Power drill with appropriate bits (masonry bit for concrete, wood bit for studs)
– Screwdriver (Phillips or flathead)
– Stud finder (for drywall)
– Hammer, if using nail?in anchors
– Safety goggles and gloves
– KTX installation kit (usually includes screws, wall plugs, and clear mounting instructions)
If your KTX system uses a magnetic or adhesive backplate, no drilling is required. Confirm which type you have.
Step?by?Step Installation Process
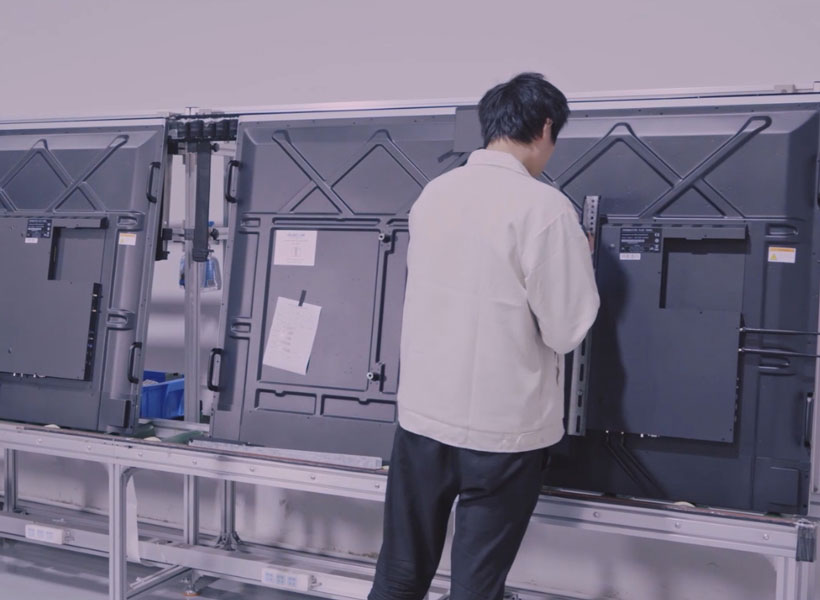
Follow these steps in order for a secure, professional result.
Step 1: Mark the Mounting Points
Hold the sign or its mounting frame against the wall at the desired height. Use a level to ensure it is perfectly horizontal or vertical (depending on orientation). Lightly mark the top corners and any intermediate bracket positions with a pencil. For KTX adjustable rail systems, mark the slots where the rail will attach. If mounting multiple signs in a row, use a laser level or string line to keep alignment consistent.
Step 2: Drill Pilot Holes (If Required)
For a mechanical mount, drill pilot holes at your marked points. The drill bit size should match the anchor or screw specified in the KTX manual. Typical diameter for drywall anchors is 1/4 inch. For concrete, use a masonry bit 1/8 inch smaller than the anchor. Drill straight in to avoid crooked mounting. Vacuum or blow out dust from the holes.
Step 3: Install Wall Anchors or Screws
Insert plastic wall plugs into the drilled holes (for drywall or concrete) and tap them flush with the surface using a hammer. For KTX’s snap?in systems, you may only need to screw the provided mounting brackets directly into studs. Tighten screws until they are snug but do not overtighten, which could strip the threads or crack the wall.
Step 4: Attach the Sign Holder or Frame
Most KTX vertical signage uses a two?piece design: a wall?fixed rail or bracket and a removable sign holder. Hang the holder onto the rail, aligning it with the pre?installed hardware. For magnetic systems, simply press the sign holder against the metal plate—it will hold firmly thanks to strong neodymium magnets. For keyhole or slot mounts, slide the holder downward until it locks into place.
If your sign is a freestanding KTX floor stand, unfold the base legs, secure any locking pins, and place the sign into the top channel. Adjust the tilt angle if the stand offers that feature.
Step 5: Insert the Retail Sign
Slide your printed or laminated sign into the holder from the top or side, depending on the model. KTX holders often have clear acrylic front panels that open via hinge clips—simply lift the clips, insert the sign, and close them. Ensure the sign is fully seated with no wrinkles or buckling. For double?sided signs, verify both sides are visible.
Step 6: Level and Secure Final Position
Once the sign is inserted, use a level to double?check alignment. Adjust by loosening the mounting screws slightly if needed, then retighten. For KTX spring?loaded systems, tension can be adjusted with a simple turn of a screwdriver. Finally, give the sign a gentle tug to confirm it is firmly attached.
Pro Tips for a Professional Finish
Even with an easy installation, small details can make a big difference in longevity and appearance.

1. Use a Template for Multiple Signs
If you are installing a row of vertical signs (e.g., in a mall corridor), create a cardboard template with the exact bracket spacing. This ensures every sign is positioned identically, saving time and avoiding crooked rows.
2. Consider Cable Management
For illuminated signage, route power cables neatly behind the sign or through KTX’s built?in cable channels. Use adhesive cable clips along the wall for a clean look.
3. Test the Environment
Indoor locations near doors, vents, or direct sunlight can affect sign stability. Strong drafts may cause lightweight foam signs to flap. In such cases, use KTX’s locking clips or add a bottom retainer to prevent movement.
4. Plan for Future Updates
Retail signage is often swapped out seasonally. Choose a KTX system that allows tool?free sign replacement. Magnetic or snap?in holders enable you to change graphics in seconds without unmounting the wall plate.
Maintenance and Longevity
Once your indoor vertical retail signage is up, a few simple habits keep it looking fresh and functioning well.
– Clean the sign holder periodically with a soft damp cloth. Avoid abrasive cleaners that might scratch acrylic.
– Inspect mounting hardware every three months, especially if the sign is in a high?traffic area where vibration can loosen screws.
– Replace weather?stripping or rubber gaskets if they become brittle—KTX offers replacement parts.
– For floor stands, check that the base weight is adequate; add sandbags or metal weights if the sign tends to wobble.
Why Choose KTX for Your Indoor Vertical Retail Signage?
Throughout this guide, we have referenced KTX because their products are designed with the installer in mind. Their vertical sign holders feature universal wall plates that fit standard stud spacing, pre?marked drilling templates, and color?coded hardware bags to eliminate guesswork. Many KTX models are made from extruded aluminum, which is both lightweight and rigid, supporting signs up to 30 pounds without sagging. The company also offers a wide range of finishes—silver, black, white—to blend with any retail interior. Whether you need a single sign for a boutique or a full wall of signage for a chain store, KTX provides scalable solutions that truly live up to the “easy installation” promise.
Installing indoor vertical retail signage does not have to be a daunting task. By following the systematic approach outlined above—preparing your site, choosing the right hardware, marking precisely, and securing the holder—you can achieve a professional, durable installation in under an hour. The key is to select a brand like KTX that prioritizes user?friendly design without compromising stability. With these steps, your retail space will transform into an organized, visually appealing environment that draws customers’ eyes exactly where you want them. Now that you have the knowledge, go ahead and upgrade your store’s signage with confidence.