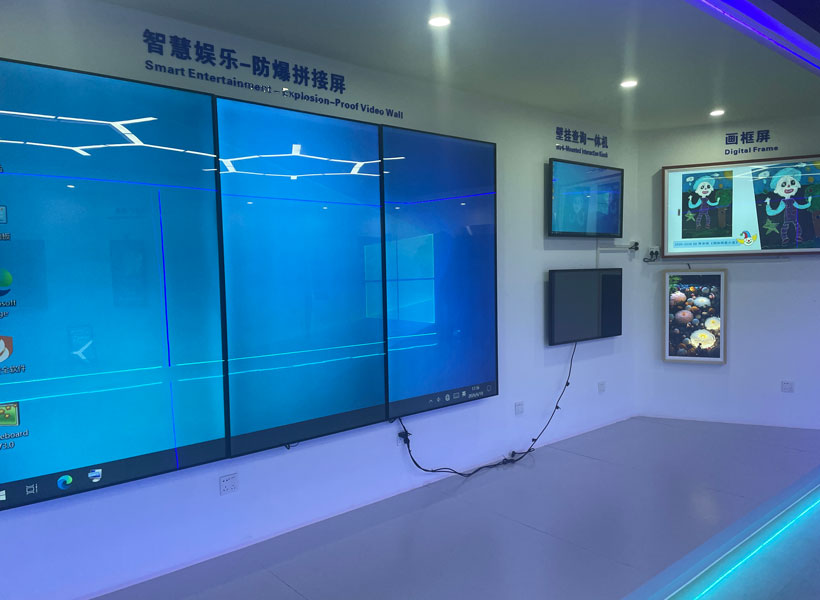
Indoor signage in tight corridors presents a unique set of challenges. Limited wall space, low ceilings, high pedestrian traffic, and the need for clear visibility all demand careful planning and precise execution. Whether you are a facility manager, a signage installer, or a contractor, understanding the specific installation steps for different mounting options is critical to achieving a professional, durable, and compliant result. This guide breaks down the most effective mounting techniques for narrow passageways, with a special recommendation for KTX brand hardware, known for its reliability and ease of use in confined environments.
1. Surface-Mount Signage: Direct Wall Attachment in Narrow Spaces
Surface mounting is the most common method for narrow corridors because it keeps the sign flush against the wall, maximizing the available walking width. However, in tight corridors, even a small overhang can become a hazard or obstruction. The key is to use low-profile brackets or direct adhesive systems.
Step 1: Assess the Wall Material and Load
Before any drilling, determine whether the wall is drywall, concrete, metal stud, or tile. For hollow walls, use toggle bolts or heavy-duty drywall anchors. For solid walls, consider pre-drilling with a masonry bit. The weight of the sign will dictate the anchor type. KTX offers a range of low-profile wall mounts (e.g., the KTX SlimLine series) that are specifically designed to keep the sign gap under 5mm, ideal for corridors where every millimeter counts.
Step 2: Mark and Level the Mounting Points
In a tight corridor, your working space is limited. Use a compact laser level to project a horizontal line. Mark the mounting holes precisely. If using adhesive, clean the wall surface with isopropyl alcohol and apply the KTX VHB tape strips, which have a peel strength of over 250 N/cm2. For mechanical fixings, drill pilot holes at a slight downward angle (to prevent dust from falling into the corridor) and insert the anchors.
Step 3: Attach the Sign Bracket
Secure the mounting bracket to the wall using the appropriate screws. Tighten gently to avoid cracking the bracket—KTX brackets are made of extruded aluminum, so over-tightening can strip the threads. Once the bracket is fixed, slide the sign onto the bracket’s channel. Ensure the sign locks into place with an audible click. Finally, use the included security screws (often tamper-resistant torx) to prevent unauthorized removal. In a busy corridor, this step also deters accidental dislodgement.
Step 4: Final Alignment and Gap Check
Stand back and check that the sign is perfectly level and that it does not protrude more than the specified distance (typically 10–15mm). If the gap is larger, the sign could catch on clothing or equipment. KTX signs have an integrated rubber backer that seals the gap while allowing for micro-adjustments. Use a feeler gauge to confirm uniformity.

2. Ceiling-Mounted or Suspended Signage: Maximizing Floor Space
When corridor walls are already cluttered with fire extinguishers, artwork, or exit signs, suspending signage from the ceiling is the best alternative. However, low ceilings (common in older buildings) require careful selection of drop length and hardware.
Step 1: Locate Ceiling Joists or Use Rated Anchors
Use a stud finder to locate ceiling joists. If your corridor has a suspended ceiling (drop ceiling), you must use a ceiling grid clip or a heavy-duty channel that spans across the grid. KTX recommends their Ceiling Mount Kit, which includes a 1.5mm thick galvanized steel bracket that attaches to the T-bar and distributes the load evenly. Never hang signage directly from the ceiling tiles—they are not load-bearing.
Step 2: Determine the Optimal Drop Height
In tight corridors, the bottom of the sign must be at least 2.1 meters (7 feet) above the floor to meet ADA and OSHA clearance requirements. Measure from the finished floor to the ceiling. Subtract 2.1m and then subtract the sign height. The remainder is your maximum cable or rod length. If the ceiling is only 2.4m high, you have very little room—consider using a flush-mount ceiling bracket that keeps the sign virtually against the ceiling.
Step 3: Install the Suspension Cables or Rods
For lighter signs (under 5kg), aircraft cable with crimp fittings is ideal. Thread the cable through the ceiling bracket eyelet and then through the sign’s hanging loops. Use a cable tensioner to take up slack. For heavier signs, use threaded rods. KTX offers pre-cut rods in 20cm, 30cm, and 40cm lengths with anti-rotation collars. Insert the rod into the ceiling bracket, tighten the lock nut, then lower the rod through the sign’s mounting holes and secure with a second nut. Check that the sign hangs perfectly straight—in a narrow corridor, even a 5-degree tilt is noticeable.
Step 4: Secure and Conceal Wiring (if illuminated)
If the sign is backlit, you’ll need to run low-voltage wiring through the ceiling. Use a BX cable or conduit down to the sign. KTX illuminated signs have a junction box cover that hides the wire entry point. Ensure all connections are made inside the sign housing to prevent accidental snagging.
3. Recessed or Flush-Mount Signage: Built into the Wall
For the most space-efficient solution in ultra-tight corridors (e.g., width under 1.2 meters), recessing the sign into the wall is ideal. This method eliminates any protrusion whatsoever, but requires a cutout and potential structural modification.
Step 1: Verify Wall Depth and Structure
Use a stud detector to map the cavities behind the wall. The recess depth must be at least the thickness of the sign (typically 20–50mm). If the wall is only a single layer of drywall (12.5mm), you cannot recess without building a frame. In metal stud walls, the cavity is often sufficient. KTX recessed sign frames come with a pre-measured template that fits a standard 2×4 stud spacing.
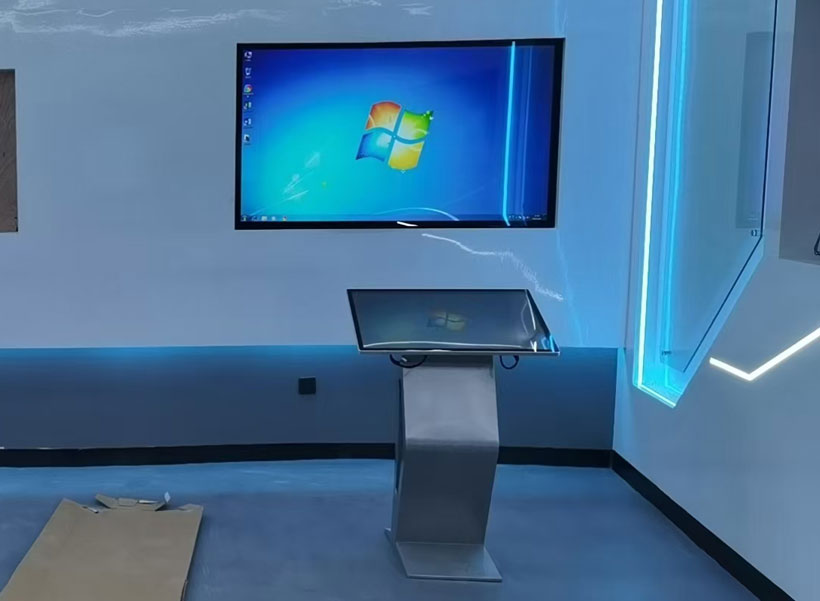
Step 2: Cut the Opening
Using a drywall saw or oscillating tool, cut along the template lines. Be extremely careful not to hit wiring or pipes. Use a stud checker to ensure no electrical cables are behind the cutting area. In a corridor, the presence of conduit is common near the ceiling—choose a lower mounting height if necessary.
Step 3: Install the Backbox or Frame
Insert the KTX recessed backbox into the opening. It should fit snugly. Use the flanged edges to screw it into the surrounding studs or drywall. Adjust the depth so that the front face of the backbox is flush with the wall surface. Apply drywall compound or caulk around the edges to seal—this also prevents dust accumulation in the narrow corridor.
Step 4: Mount the Sign Face
Snap or screw the sign face onto the backbox. For illuminated signs, connect the wiring inside the box first. The final result is a sign that sits perfectly flush with the wall—zero protrusion, making it the safest option for high-traffic areas like hospital corridors or school hallways.
4. Corner-Mounted Signage: Utilizing Tight Angles
Sometimes the only available space is at the junction of two walls. Corner mounting allows signage to be visible from both directions, ideal for turning points in narrow corridors.
Step 1: Measure the Corner Angle
Most interior corners are 90 degrees, but some may be irregular. KTX offers adjustable corner brackets that accommodate angles from 85° to 95°. Use a protractor or angle finder to confirm the exact degree.
Step 2: Install Two Base Plates
On each adjoining wall, pre-drill holes at the same height. Install the base plates using wall anchors appropriate for the material. Ensure the plates are level with each other using a spirit level or laser line.
Step 3: Attach the Corner Bracket
Slide the KTX corner bracket onto the two base plates. Adjust the two arms to match the wall angle and lock them with the tightening screws. The bracket should be rigid. Then, mount the sign onto the bracket’s face—typically via a VESA-compatible pattern. This configuration keeps the sign close to the corner, minimizing its footprint in the corridor.
Step 4: Route Cables Discreetly
If the sign requires power, run cables through a small wire channel painted to match the wall. In tight corners, this is crucial to avoid tripping hazards or visual clutter.
Final Recommendations for Tight Corridor Signage
Regardless of the mounting option chosen, always prioritize safety and compliance. Ensure that signage does not block emergency exits, fire extinguishers, or emergency lighting. Use anti-glare finishes to maintain readability even under harsh corridor lighting. For reliability and professional results, KTX branding—whether for brackets, cables, or recessed frames—offers tested solutions that save time and reduce errors. Their modular design allows for easy reconfiguration when corridor usage changes.

Remember, the best installation is the one that is virtually invisible to passersby yet perfectly legible from every angle. With the steps outlined above, you can tackle even the most challenging tight corridor signage projects with confidence.